 (250 × 60 px)")
 (2880 × 1100 px) (2880 × 800 px) (1)")

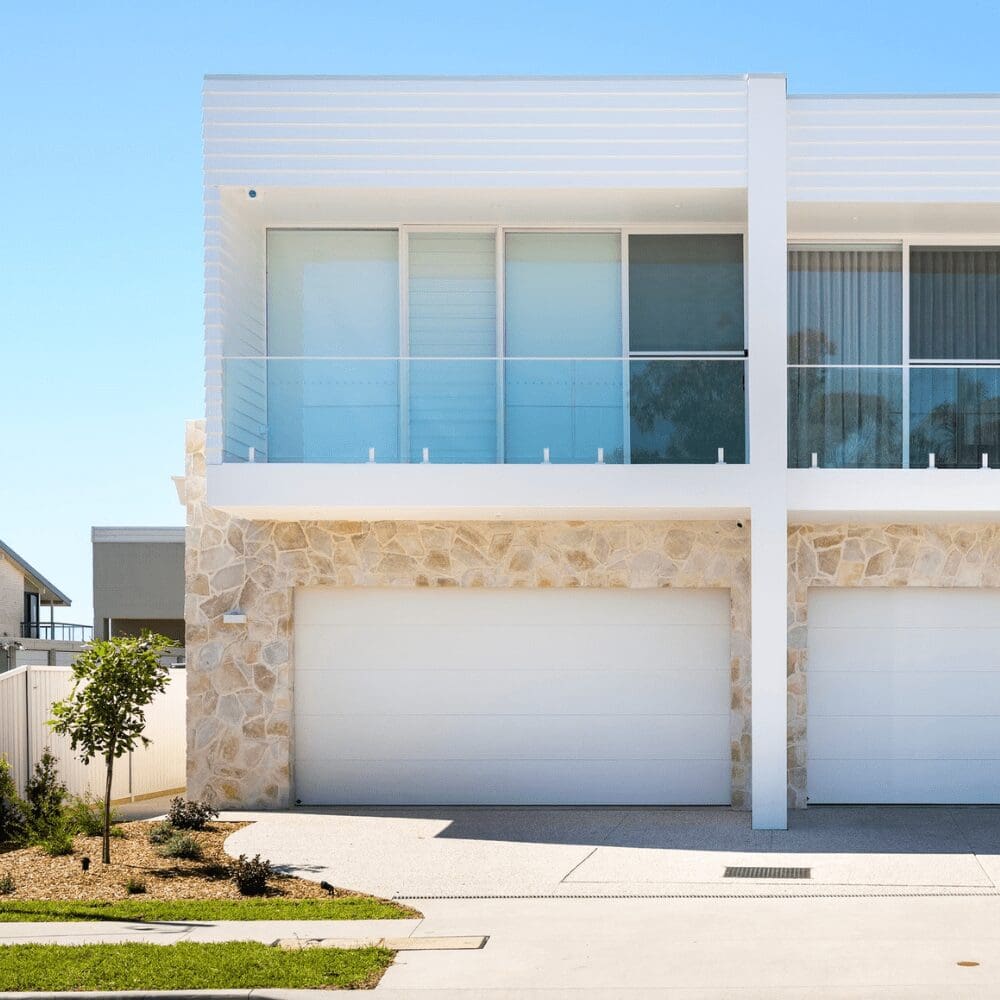
Working with stone veneers can be a satisfying experience and crafting a simple stone wall is easily within the reach of your stonemason, landscaper or average DIYER.
Installation Guidelines

Installation Information
Stone cladding surface preparations
Veneer Stone recommends that wall construction be in accordance with the relevant Australian and Industry standards. The contractor must examine substrates and advise the general contractor and architect of any existing conditions or surface contamination which will require correction before work commences. Before starting, substrates must comply with maximum allowable deflection criteria as called for by Australian Industry Standards or the applicable local building code. All rough, uneven or “out-of-plumb” surfaces must be made “plumb and true” to within 1/8” in 10’ (3mm in 3m) and 1/16” in 1’ Dry, dusty concrete or masonry surfaces must be high pressure water washed and excess water removed just prior to the application of adhesive materials. In some cases a primer may be needed which will seal the surface and enhance the bond of the adhesive onto the substrate.
Rendered surface
The surface of the wall must have a wood float finish. For steel trowelled finished surfaces ensure that the surface is mechanically or chemically abraded prior to commencing tiling, in this particular case. Render should be allowed to fully cure before tiling commences.
Brick work
Before installing Veneer Stone products on internal or external brick work, ensure the surface is rendered to provide a more suitable surface for application.
Tilt up concrete panels
All tilt up concrete slabs have to be mechanically grinded then cleaned using high pressure water, ensuring that all curing compounds and release agents are completely removed prior to commencing tiling. Ensure all surfaces are clean, dry and free from dirt, dust, grease, oil, wax, curing compounds and any loose contaminating materials which may affect the bond of the adhesive onto the substrate.
Mechanical fixing
In some cases mechanical fixing may be necessary. If in doubt please contact your engineer or seek advice from Laticrete on 1800 331 012.
Expansion and control joints
Existing joints in subsurface must be carried through the veneer work and must conform to architectural details. Expansion joints must be installed where veneer abuts restraining surfaces, such as perimeter walls, curbs, columns, corners, etc. Expansion joints must be installed at all “changes of plane” in the veneer work. Refer to AS3958.1-2007 (current year) for industry recommendations.
Waterproofing and crack suppression membrane
Install Laticrete hydro ban in all wet areas and over all non-structural cracks (≤1/8” or 3mm) in the substrate(s) before veneer stone is installed. Laticrete hydro ban is to be installed in accordance with the Laticrete written installation instructions. Refer to Laticrete DS663.0 and DS663.5 for complete information.
Cold weather note
The curing of installation materials is retarded by low temperatures and finished work should be protected for an extended period of time. Typically, for every 18 ºF below 70 ºF (10 ºC below 21 ºC), installation materials take twice as long to cure.
Product selection/Variation in stones
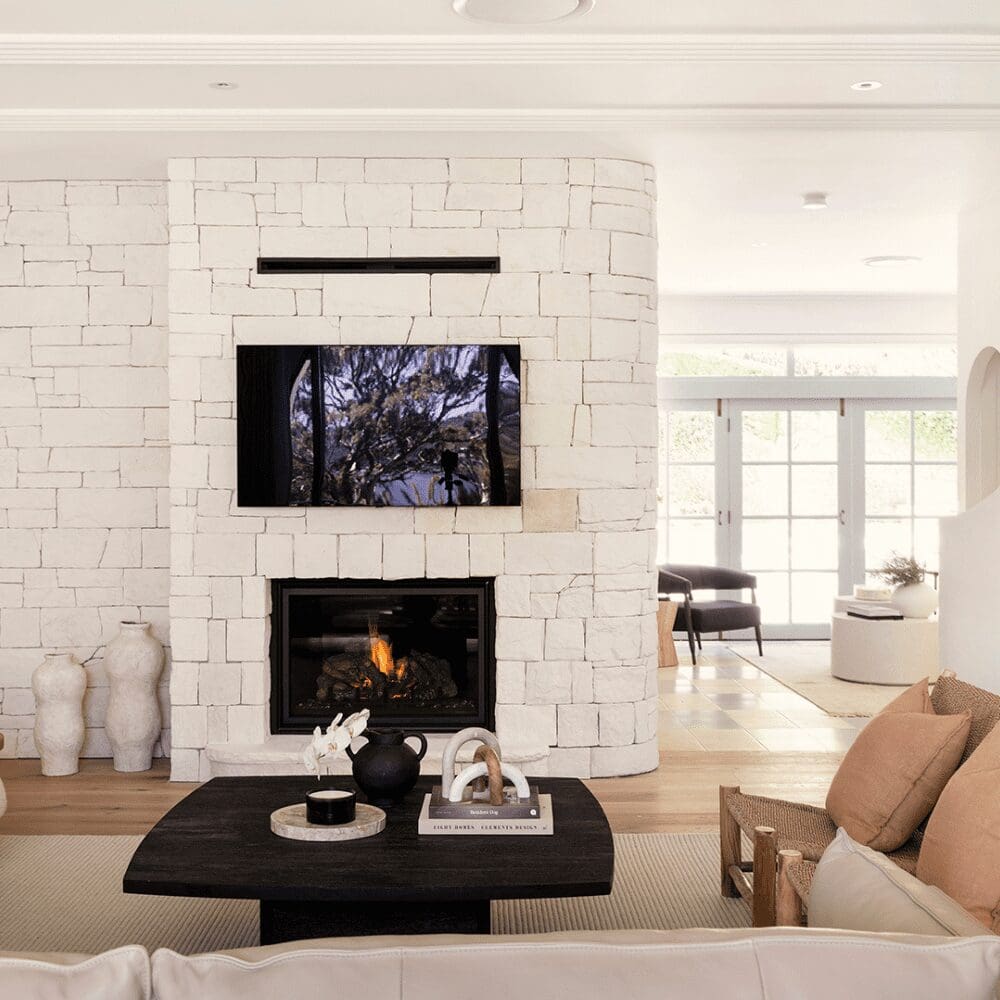
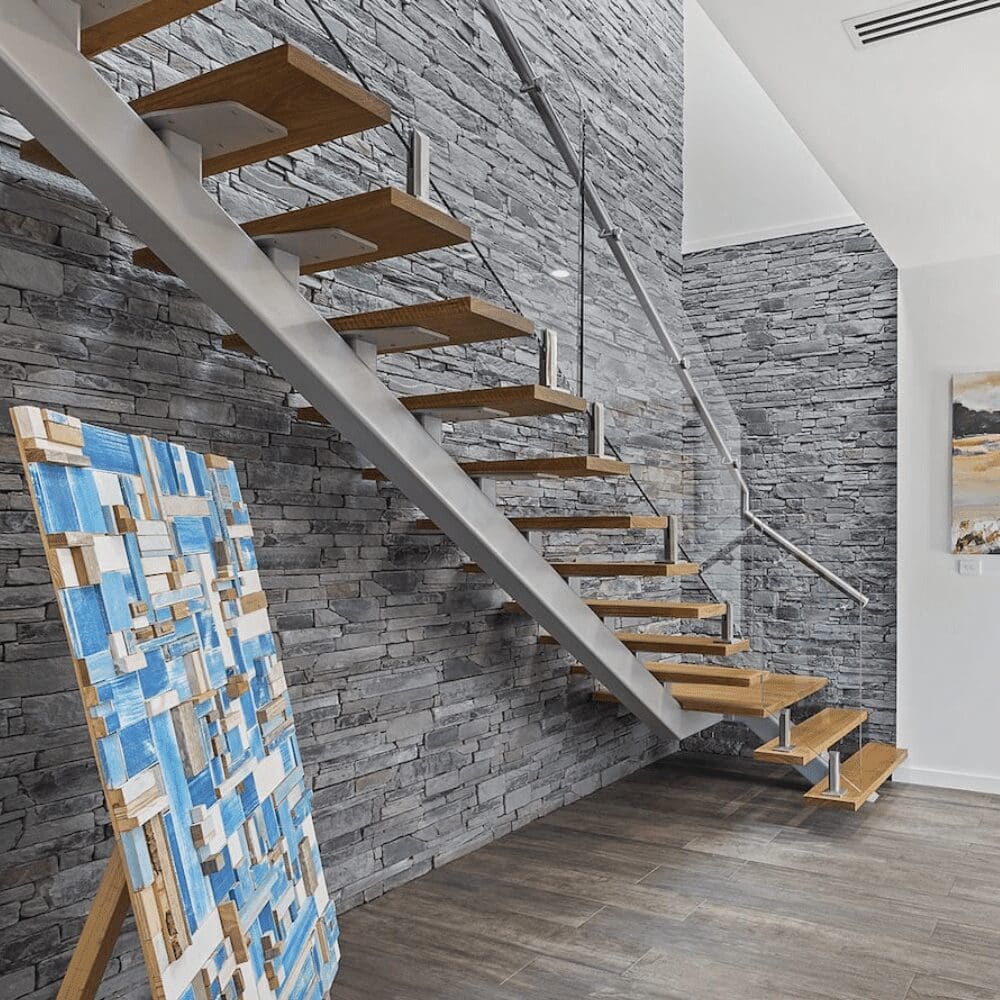
Colour, size, shape and texture variation is an essential aspect of a natural stone wall. Lay out and mix boxes of stone to ensure you gain this look. The visual effect will be enhanced by an overall natural presentation.
Installation of stone veneers & cladding
Prior to installation, ensure the backs of the Veneer are clean of dust, laitance, loose concrete crumbs and any excess film that could impede bond. Due to the wide variety of substrates we recommend you contact your local glue supplier or Laticrete on 1800 331 012 for the best suited adhesive for your application.
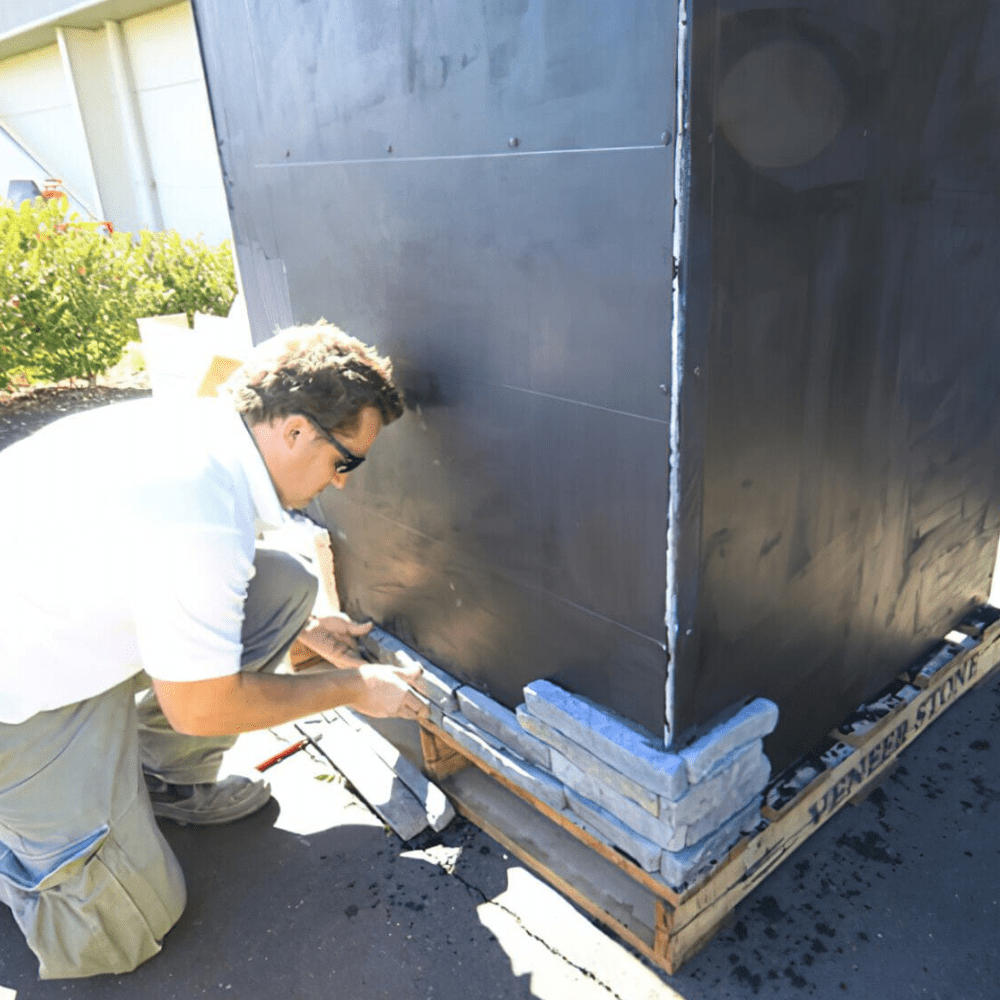
- Once the surface has been prepared in accordance with Australian Industry Standards, using the flat edge of a trowel, firmly apply adhesive to the substrate. Then, comb on additional mortar with the notched side, use a 12mm x12mm notched trowel, depending on the veneer size.
- For all veneers it is important to fill all grooves or uneven backing by buttering the back of the veneer, this is to provide full bedding of the veneer. Cover the entire back of the veneer not just the perimeter in addition to trowelling the adhesive onto the substrate.
- Place the veneer onto the adhesive and adjust to desired position. Buttered veneer should be firmly worked onto the substrate and pushed slightly back and forth to fully embed the veneer in the adhesive. Ensure the tiles are laid into the adhesive before it skins over. If the adhesive skins over remove the adhesive from the surface and re-apply fresh adhesive.
- Check the adhesive for 100% coverage by periodically removing veneers and inspecting the transfer of the adhesive onto the substrate.
Note; the size and weight of the veneer stone will vary. Conduct a small test area for non-sag performance. Due to job site conditions and differences in finish material types; ledger boards, shims, wedges or spacers may be required to maintain finish levels and heights. Allow the installation to cure for 24 hours at 21ºC, prior to grouting. Excess adhesive must be cleaned from the veneer surface with a clean, wet cloth or sponge, while it is still fresh. The final bed thickness of the adhesive should be 6mm in this particular application.
Grouting and pointing joints
Allow the installation to cure for 24hours at 21 ºC prior to grouting /pointing joints. The Veneers should be pre-sealed to ease grout removal and protect veneer surface finish and colour. For interior installations, either a penetrating or topical sealer can be used. For exterior installations, use only a penetrating sealer for superior durability.
- Use either a trowel and tuck pointing tool or a mortar bag to place the pointing mortar.
- Once applied, allow it to achieve “thumbprint” hardness, then trowel, rake and/or brush to the desired finish. Joints must be packed full and free of voids and pits.
- Excess grout must be cleaned from the surface of the veneers as the work progresses, while the grout is fresh and before it hardens. Do not use acid or alkaline cleaners which may damage the surface of veneers.
Seal and protect stone cladding
The contractor must take precautions to protect the finished work from damage by other trades. Protect installation from exposure to rain for a minimum of 7 days. Allow the cement to cure for a minimum of 7 days at 70 ºF (21 ºC) before aggressive cleaning. For interior installations, either a penetrating or topical sealer can be used. For exterior installations, use only a penetrating sealer for superior durability. Whilst sealing the stone isn’t always necessary it will protect veneer surface finish and colour. If the veneers are installed near wet areas or areas prone to salt attack, we recommend dip sealing all veneers prior to installation.